This Made Me Cry

For the past four years, I have been part of a very special team at Compassion. One of my volunteer roles has been to manage the Compassion Pinterest account and write some of the blog posts for Compassion's Second Friday Letter Writing Club. As part of this team, I have had the opportunity to work with some great people at Compassion! 

Chris, Jacquie, Sam, Eryn, Susan, Emily, and Sarah have included me in conference calls, Google Hangouts, and numerous emails over the years, listening to my ideas and truly making me feel like part of the team.

But as new volunteer opportunities have come along for me, I have felt that my time in this role needed to come to an end. I sent an email to the team a couple of weeks ago to let them know about my decision. They graciously accepted my 'resignation' and wished me the best of luck in whatever the future holds. In fact, they almost made me rethink my decision!

So Friday, when I arrived home, there was a package on the table from Compassion. Now this isn't usually a strange thing. I had just placed an order to have child packets delivered for an upcoming conference where I will have a Compassion table. But the strange thing about this particular box, it was really light and a bit larger than the usual boxes that arrive.

When I opened the box, there was a card with my name on it taped to something wrapped in tissue paper. I opened the card and started reading it, that is when I started to cry. The card was signed by all the members of the social media team at Compassion that I have had a chance to 'work' with. Their very kind words truly made me feel loved!

And then I opened the tissue wrapped package and found this:

Compassion Skippy Blog post images

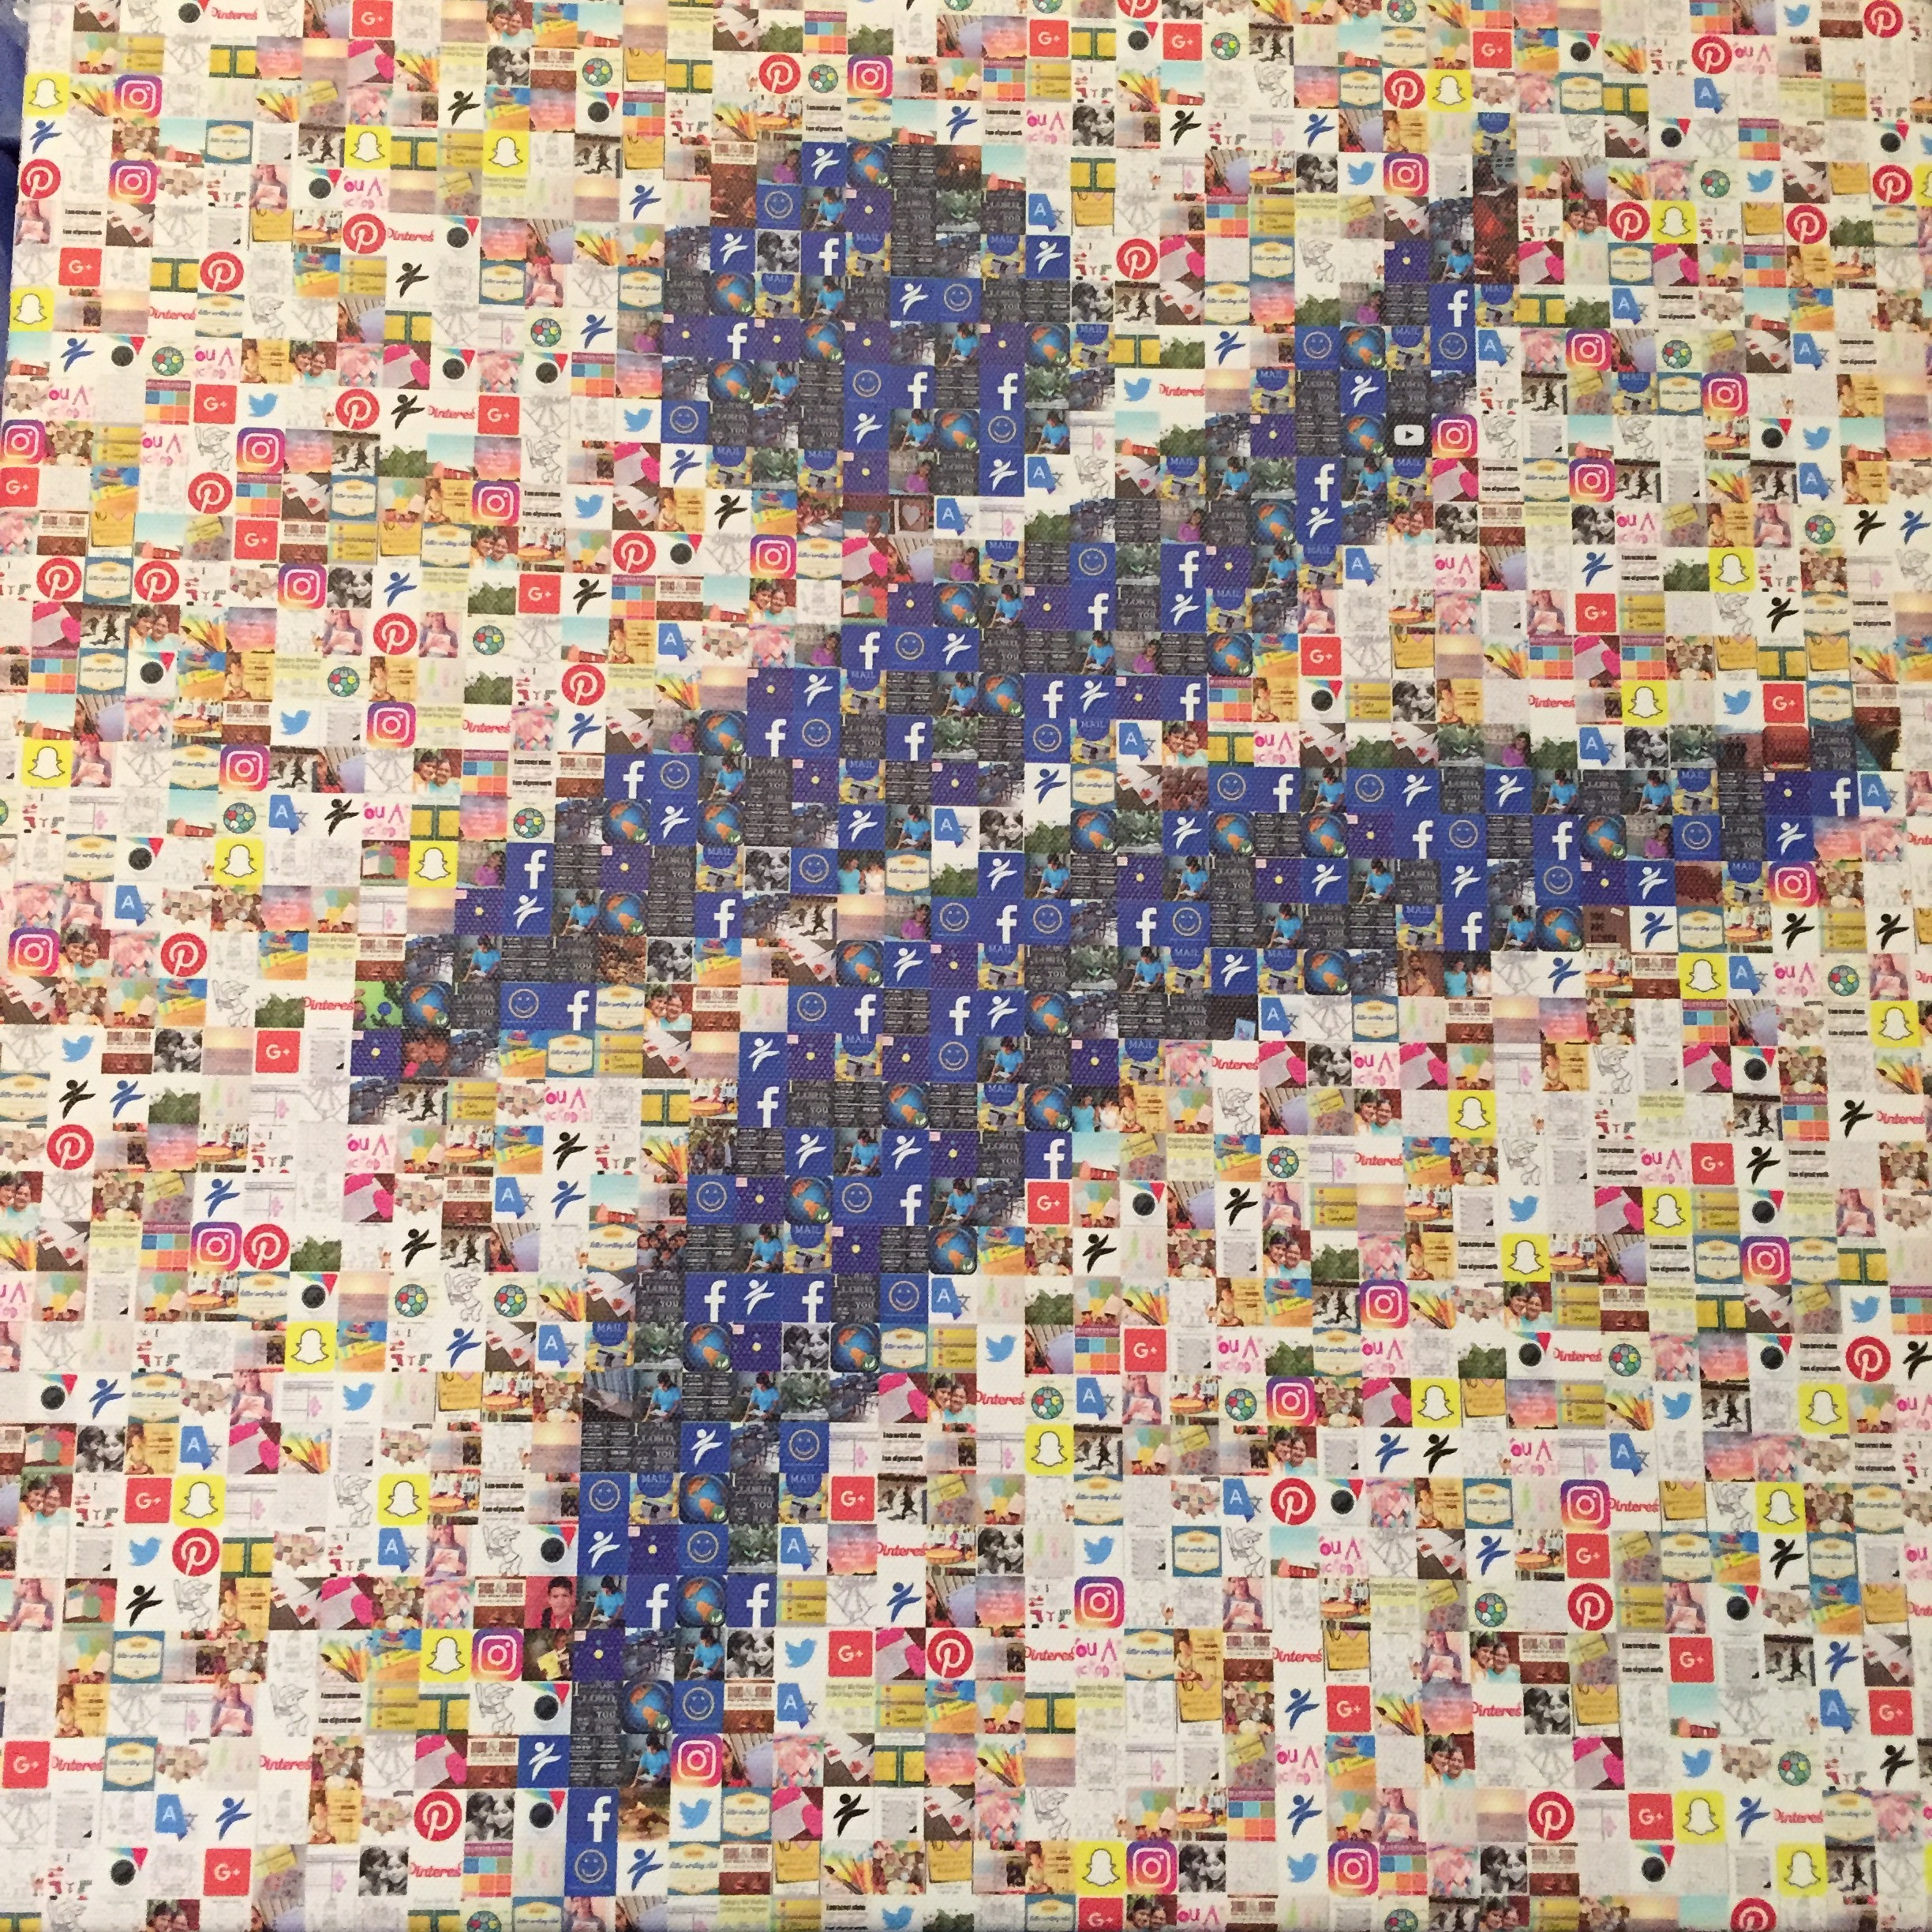
This very special team of people had a canvas created for me of Skippy (the official, or is it unofficial, mascot of Compassion) with images from many of the Second Friday Letter Writing Club board posts I wrote for the Compassion blog!

The past four years has been filled with creating new boards, deleting boards, following people, adding new pins, putting together letter writing posts, and most importantly, helping to share about the children who are still waiting for sponsors.

Just because my time helping with the Compassion Pinterest account is coming to a close, does not mean that my volunteer time with Compassion is done. This ministry is one that I love and will continue to serve with, even if they do make me cry!

Thank you Chris, Jacquie, Sam, Eryn, Susan, Emily, and Sarah for allowing me to be a part of the team!


Compassion Blogs on Pinterest

Some of you may know that I spend my mornings helping to manage Compassion's Pinterest account. Over the past three years, I have seen and pinned a lot of ideas I have found on Pinterest and on the internet to help make letter writing more of a priority for sponsors, and to help them find creative things to mail to their sponsored children.

But for a while now, I have wanted to have one place, where Compassion Bloggers can share their own blog posts, so that other Compassion sponsors can read what these amazing men and women share about their own experiences with Compassion.

So this morning, I created a group board on Pinterest!

Compassion Blogs Pinterest board

I am excited about this new board and the possibility of reading more stories of how Compassion is impacting sponsors and their sponsored children.

Would you like to join us? Leave a comment below with the link to your Pinterest profile and I will add you to our board.

My California board on Pinterest

Do you know about the map feature on Pinterest? I knew about it, but really hadn't done anything with it until this week.

Bass Lake in California

Right now, I have 30 pins on my California Pinterest board. This week, I went through and added the location to each of my pins. I have to say, it is really cool to see all of the locations on a map on my Pinterest board. And we have visited each of the destinations at least once. I know there are many more locations I can pin on this board, so if you live in California, or if you plan on visiting California, or if you are looking for field trip ideas in California, be sure to follow my California Pinterest board

Do you have a Pinterest board with a map? 

Tackle It on Tuesday: Bathroom Project

We have been doing our best to enjoy summer here, but I have to share with you one project that we worked on over the past couple of weeks. I was inspired to finally tackle this long overdue project after reading The Nesting Place For years, I couldn't decide what color to repaint my bathroom. We have lived in this house for about 9 years now, and it is the only room in the house that has not been painted since we moved in.

previously ugly bathroom before photo

Pale green, brass knobs, stencil around the window...yuck, yuck, yuck. And why did I wait so long? I don't know. But after reading that book, I realized, you know what? If I hate the color, I can always repaint it!

So, a friend sent me home with a paint sample, I loved it and went out to get started on this bathroom makeover. 

new outlet being installed

Before the painting could begin, a new outlet was installed on the other wall.

goodbye ugly green paint

Goodbye ugly, pale green paint!! Hello pretty, pale yellow paint!

fresh coat of paint

Ahh, it already looks better! Now onto adding a bit of rustic, charm.

pallet shelf and tp holder

We had an existing shelf under a set of cabinets, so my husband just covered them with pieces of pallet wood. The tp holder idea is one I found on Pinterest.

the new bathroom

And here is what the rest of the rustic additions look like! New knobs on the cabinets, a pallet window box over the window, pallet pieces around the mirror, new hooks for towels, and for the light fixture, spray painted the existing metal, new globes, and a pallet cover. Added a fake flowers in an existing tin, and ta-da!! New bathroom for less than $150!!

So what will I be tackling next?

long to do list

Oh, I have quite the to-do list!! I had so much running around in my brain of things I knew needed my attention, so I got out a sheet of paper and wrote down a bunch of things. As you can see, I have already been able to check a few things off my list. Since I have quite a bit on my list still, my next few Tackle It on Tuesday posts might be an update of all of my tasks.

Do you like to make a to-do list? Are you a paper to-do list person or a techy to-do list person?

Tackle It on Tuesday: Denim Star Garland with Tutorial


Denim star garland tutorial

This week, I tackled another fun creative project (Pinterest inspired!) using some scrap pieces of denim, burlap, fabric, buttons, and jute. I tried to take pictures along the way so if you want to try making this at home, you can follow along and make one of these for your own home.

supplies for denim star garland

The supplies you will need for this project: denim, fabric, burlap, quilt batting, jute, buttons, embroidery floss, star stencil, scissors, needle, and a disappearing ink pen.

cut out star shapes from old denim

I found a star stencil in my scrapbook supplies and used that to cut a star template out of cardboard for tracing around on the denim. My template was about 4 inches across. The garland has seven stars across and I doubled them up, so be sure to cut out 14 stars from the denim.

denim, burlap, fabric heart, and a button

Your embellishments for the star are going to be a bit of burlap, a fabric heart, and a button. 

attach embellishments to denim star

Layer your embellishments on one of the denim stars. Then with some embroidery floss, sew through all layers (denim, burlap, fabric, and button) to attach the button to the denim. You will repeat this step seven times, once for each star that will be along your garland.

sandwich all layers of denim, batting, and jute

Once you have attached all of the embellishments to the stars, you will start attaching the stars to the jute. Take one plain denim back, one quilt batting star (I cut these just a bit smaller than the template, the jute (which you have cut to about six feet or so), and the top denim star. Fold the cut jute in half to find the middle. This will be your starting point for sandwiching the star pieces to the jute.

sew a running stitch around the outside edge of the star

Pin the star pieces in place, take some embroidery thread, and begin stitching around the outside edges of the star with a running stitch. Once you have finished with the first star, place the next star where you think it will look best (mine are about 3 inches apart).

finished star garland

After you have attached each star to the jute, you will now have a festive garland to decorate your mantle or food table for a summer party or wherever you decide to display it! You can get really creative with this project using a variety of shapes and materials. If you give it a try, be sure to let me know in the comments with a link to your finished project!

My project for this upcoming week? Going through some old Food Network magazines. Next week, I will let you know what I do with them.