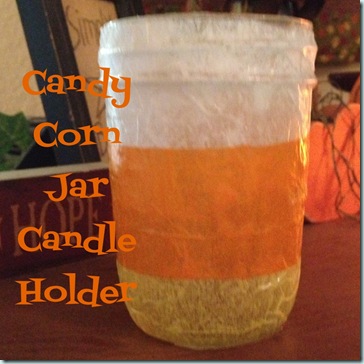
Candy Corn Jar Candle Holder

Candy Corn Jar Candle Holder

A couple of days ago, my blogging friend, Kris, shared a Book Leaf Banner tutorial on her blog. It was just the inspiration I needed to put together a fun project using a couple of my favorite fall items.

candy corns

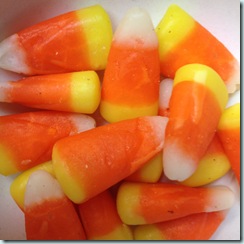
Do you like candy corns? I sure do. And do you know if you pair them with peanuts for a snack, they taste like Payday bars? Yum! And candy corns are made from great fall colors!

Anyway, back to the project…
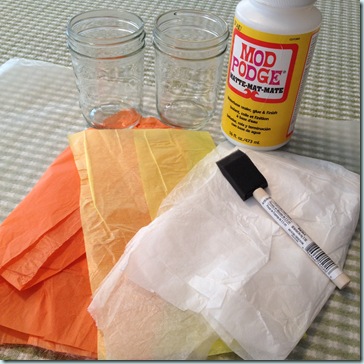
project supplies The materials needed for this project are pretty simple:

  • half pint jars
  • mod podge
  • orange, yellow, and white tissue paper
  • foam brush
  • scissors

When I am working on a project like this, I like to use a sheet of wax paper to keep everything from sticking to my table.
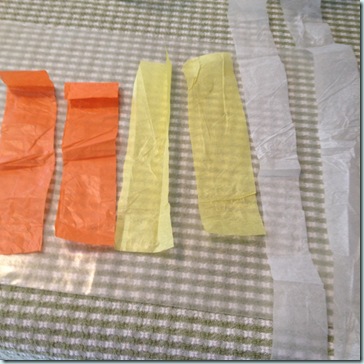
tissue paperFirst step, cut the tissue paper into strips. You really don’t need exact measurements for this, you just want to make sure all three strips will cover the jar.
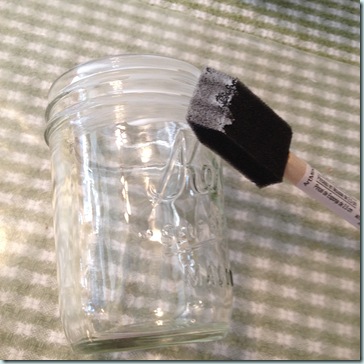
brush mod podge on jar Next, brush the whole outside of the jar with the mod podge.
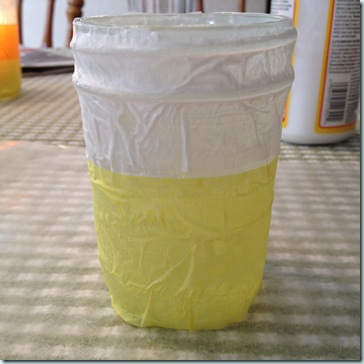
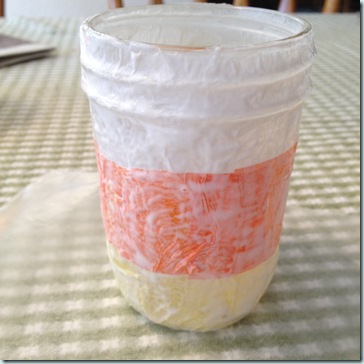
wrap tissue around jar Then wrap the white and yellow tissue paper around the outside of the jar on top of the mod podge. You can use two strips of white tissue paper if you don’t want the top of the jar to be too clear.

add orange strip 

At this point, you will want to add more mod podge around the middle of the jar, then add the orange strip of tissue paper around the jar. Then carefully, cover the whole outside of the jar with more mod podge. Let the jar set to dry.

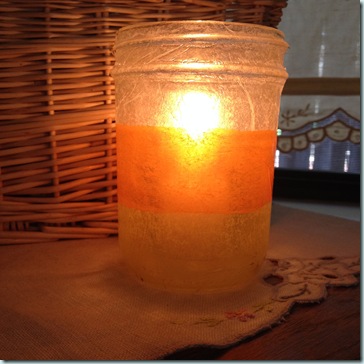
jar candle

Once the outside of the jar is dry, add a tealight or votive candle to the jar and enjoy this cute fall decoration in your home!

Giveaway!!

Since I made two of these jars today, I would love to give one away to one of my lucky readers! To enter, leave a comment below. Want to earn extra entries? Pin, tweet, or share this post and you will receive extras entries! Please be sure to leave a comment below for each thing you do. (Open to U.S. residents only. Winner will be drawn next Friday, October 11th.)
Making Cut-Offs Cute!

Making cut-offs cute

I don’t know about you, but my daughter likes to wear her ‘shorts’ pretty long. Have you tried finding long shorts while shopping? It is next to impossible!! So we have come up with a solution, and it is a frugal one too.

Making cut-offs cute

Here is what you are going to need:

  • a pair of cut-off jeans (cut these to the length you would like)
  • extra wide double fold bias tape
  • thread
  • pins
  • Making cut-offs cute
  • sewing machine

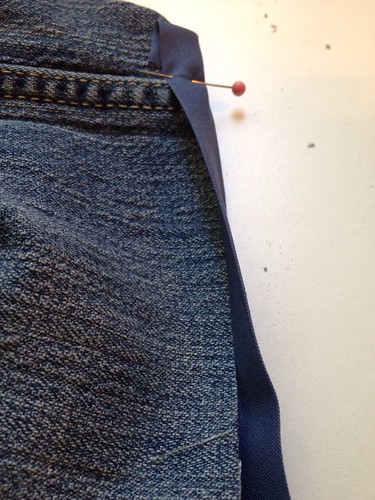
The first thing you are going to do is measure around the bottom of the pant leg and cut a piece of the bias tape about an inch or so longer. Using your pins, you are going to basically ‘wrap’ the bias tape around the bottom of the cut-off leg. I use the pins to help the bias tape stay in place as I am sewing around the pant leg.

Making cut-offs cute

Then at the sewing machine, sew through all layers of the bias tape and the pant leg.

Making cut-offs cute

Once you have sewn around the pant leg, I fold under the end of the bias tape to finish off the edge.

Making cut-offs cute

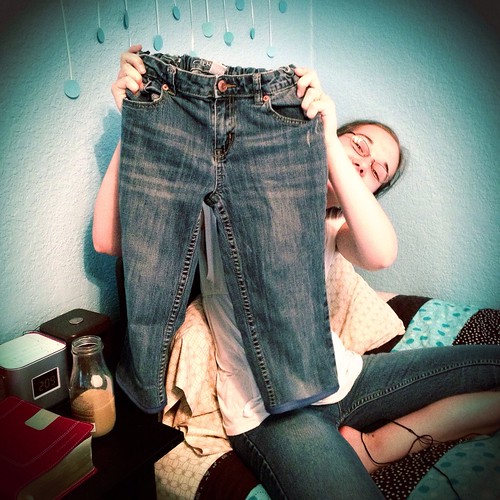
Long ‘shorts’ makes for one really happy teenage girl in my home!

You can really get creative with this project if you want to, but my daughter wanted just plain blue bias tape to finish off these ‘shorts’. Try different colors of bias tape, or get really creative and make your own bias tape out of fabric you have at home.

What project have you done at home lately? I would love for you to share in the comments!

Valentine Book Garland

Today was the day to take down the winter decorations!

Our poor church family (including my family) has been hit with all kinds of illnesses over the past month or so. Since there are so many sick right now, our weekly afternoon ladies Bible study was cancelled for today, so I knew I would have some extra time to work on a craft after Kelsey was working independently on her school work.

So I checked my Pinterest craft board to find a Valentine craft and was disappointed when the link was not working. The project didn’t look too difficult, so I pulled out some supplies and got to work.

13_Feb_Valentine book garland_001_edit

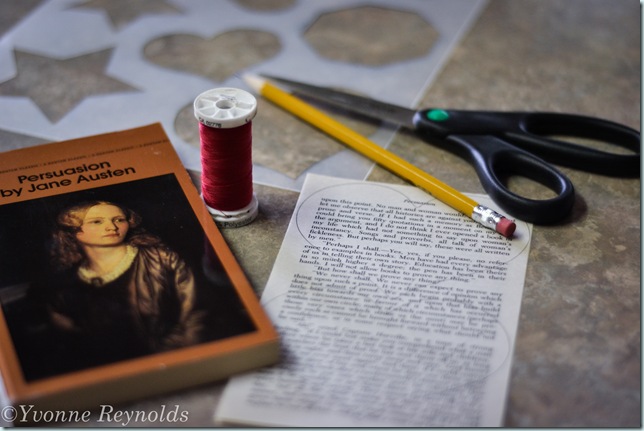
Supplies: a used book, heart template, pencil, scissors, and thread

Start by tracing the heart template onto some of the book pages. The number of hearts you will need depends on how many you want on your garland.

13_Feb_Valentine book garland_002_edit

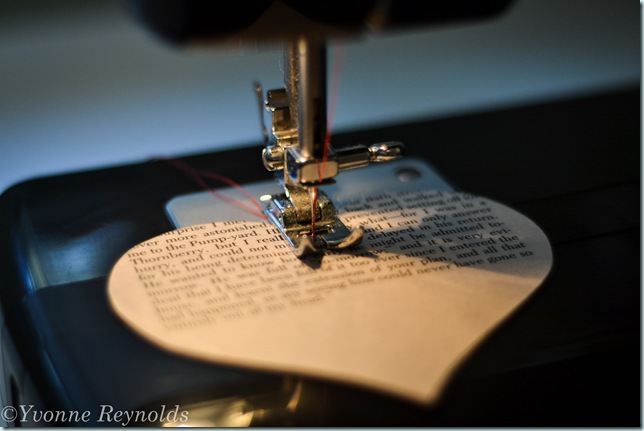
Take your heart book pages to your sewing machine. You will be sewing down the middle of two hearts at a time. Leave a good length of thread at the top of the first set of hearts. When you are finished sewing through the first set of hearts, do not cut the thread! Pull the thread out some, then begin sewing down the next set of hearts. I decided that 4 sets of hearts would work for my windows. Once you sew the last set of hearts, pull the thread a few inches from the machine, then cut the threads.

13_Feb_Valentine book garland_003_edit

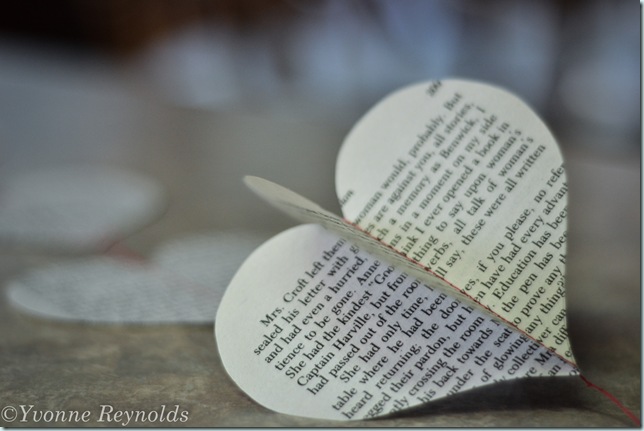
Take the garland to a table, now fold the heart pages away from each other to create a 3D effect. I did tie a knot in the thread at the top and the bottom to keep the thread from unraveling later.

13_Feb_Valentine book garland_004_edit

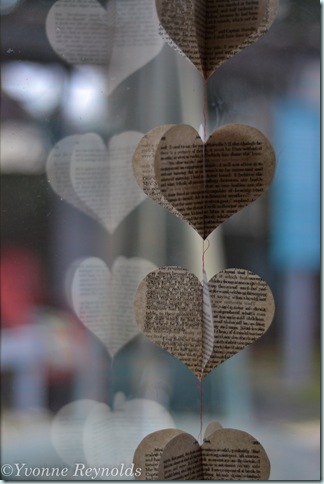
I tied a loop in the top of the thread and hung each length of hearts from a hook on a tension rod inside the window frame (which is covered by a valance).

Do you decorate your home for Valentine’s month?

Baby Wash Cloth Tutorial

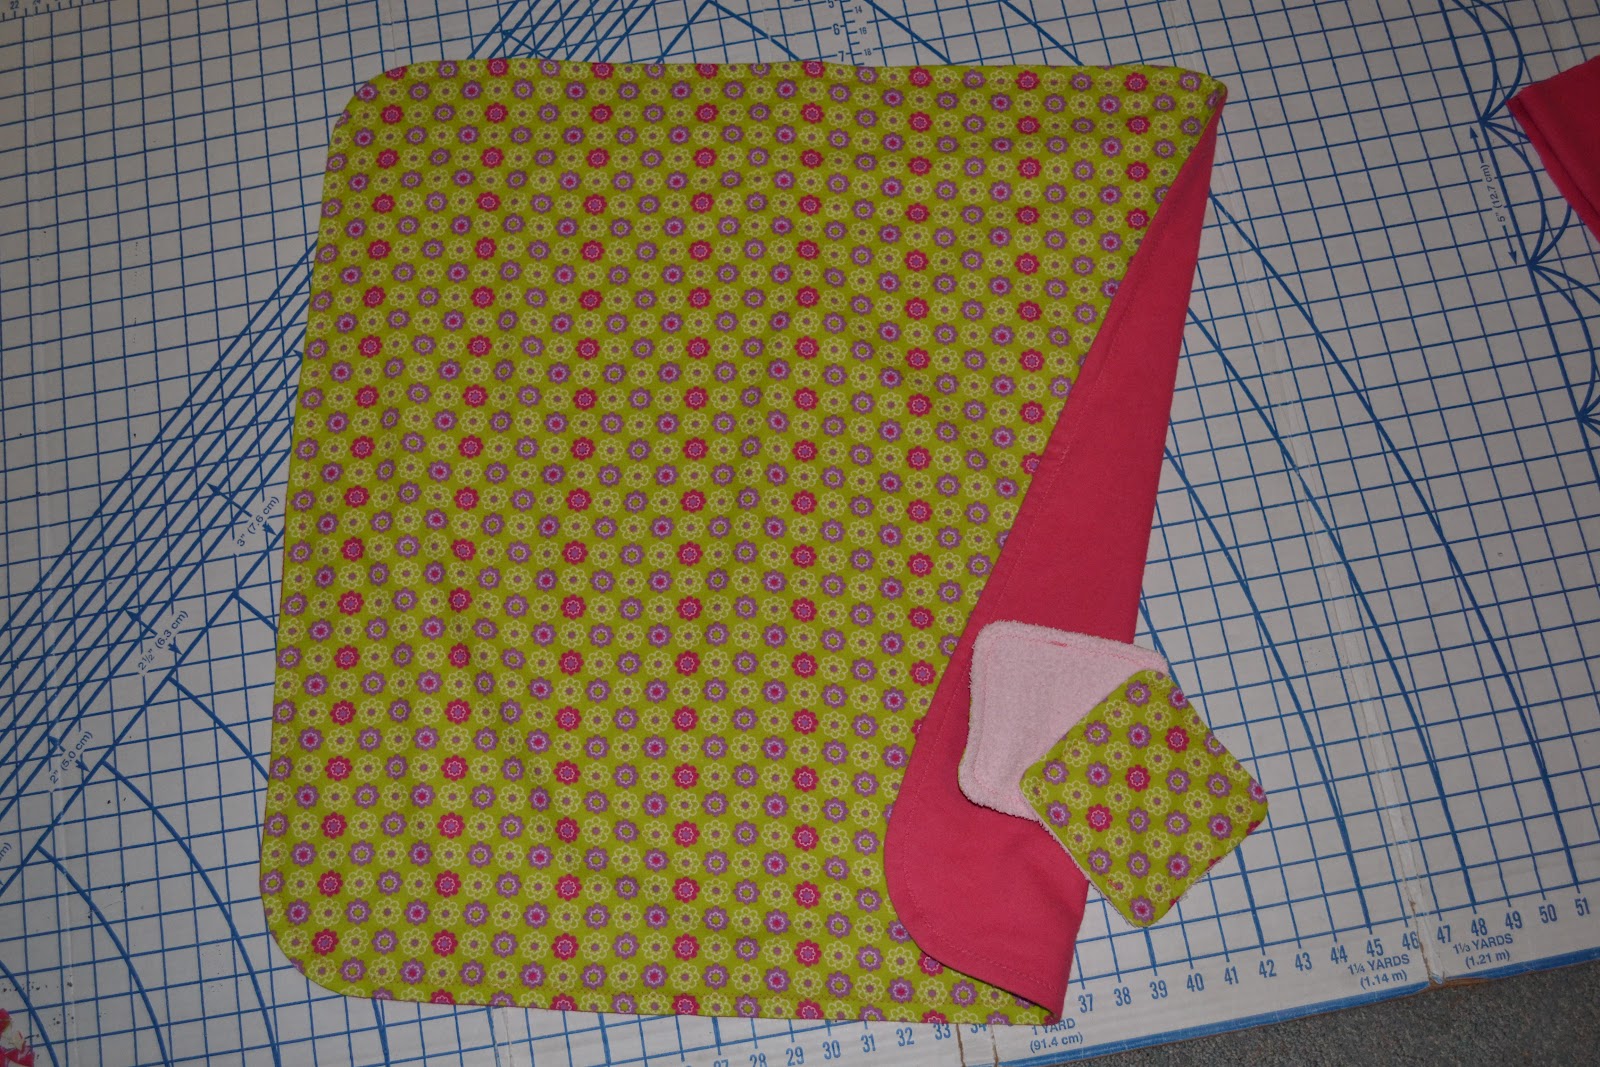
Last week, I shared with you how to make a flannel baby blanket. If you made the blanket, you know there will be some extra flannel material. I have been using the extra flannel material to make baby washcloths!

The steps are very similar to making a blanket, just a little smaller this time.

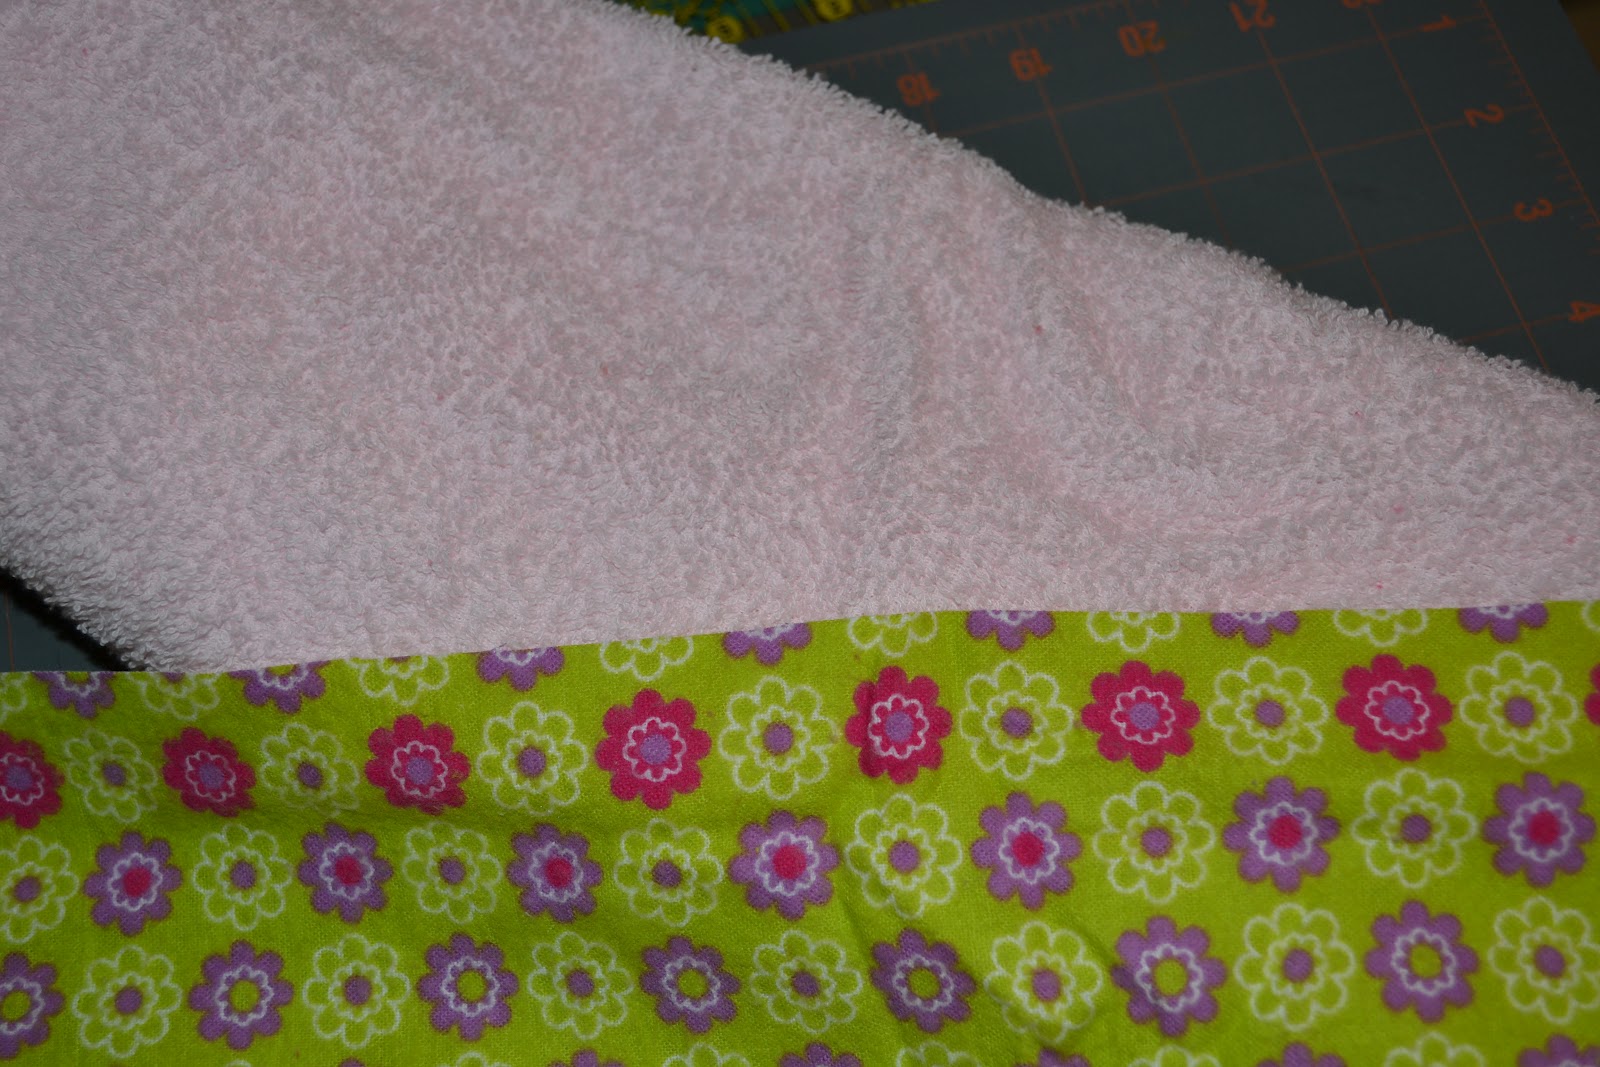
Find a coordinating terry cloth material to go with your flannel print. You will not find a lot of choices for terry cloth at the fabric store, so just pick something that will match most of the flannel you have on hand.

I use my quilting tools to cut out 6 inch squares from the flannel print and terry cloth.

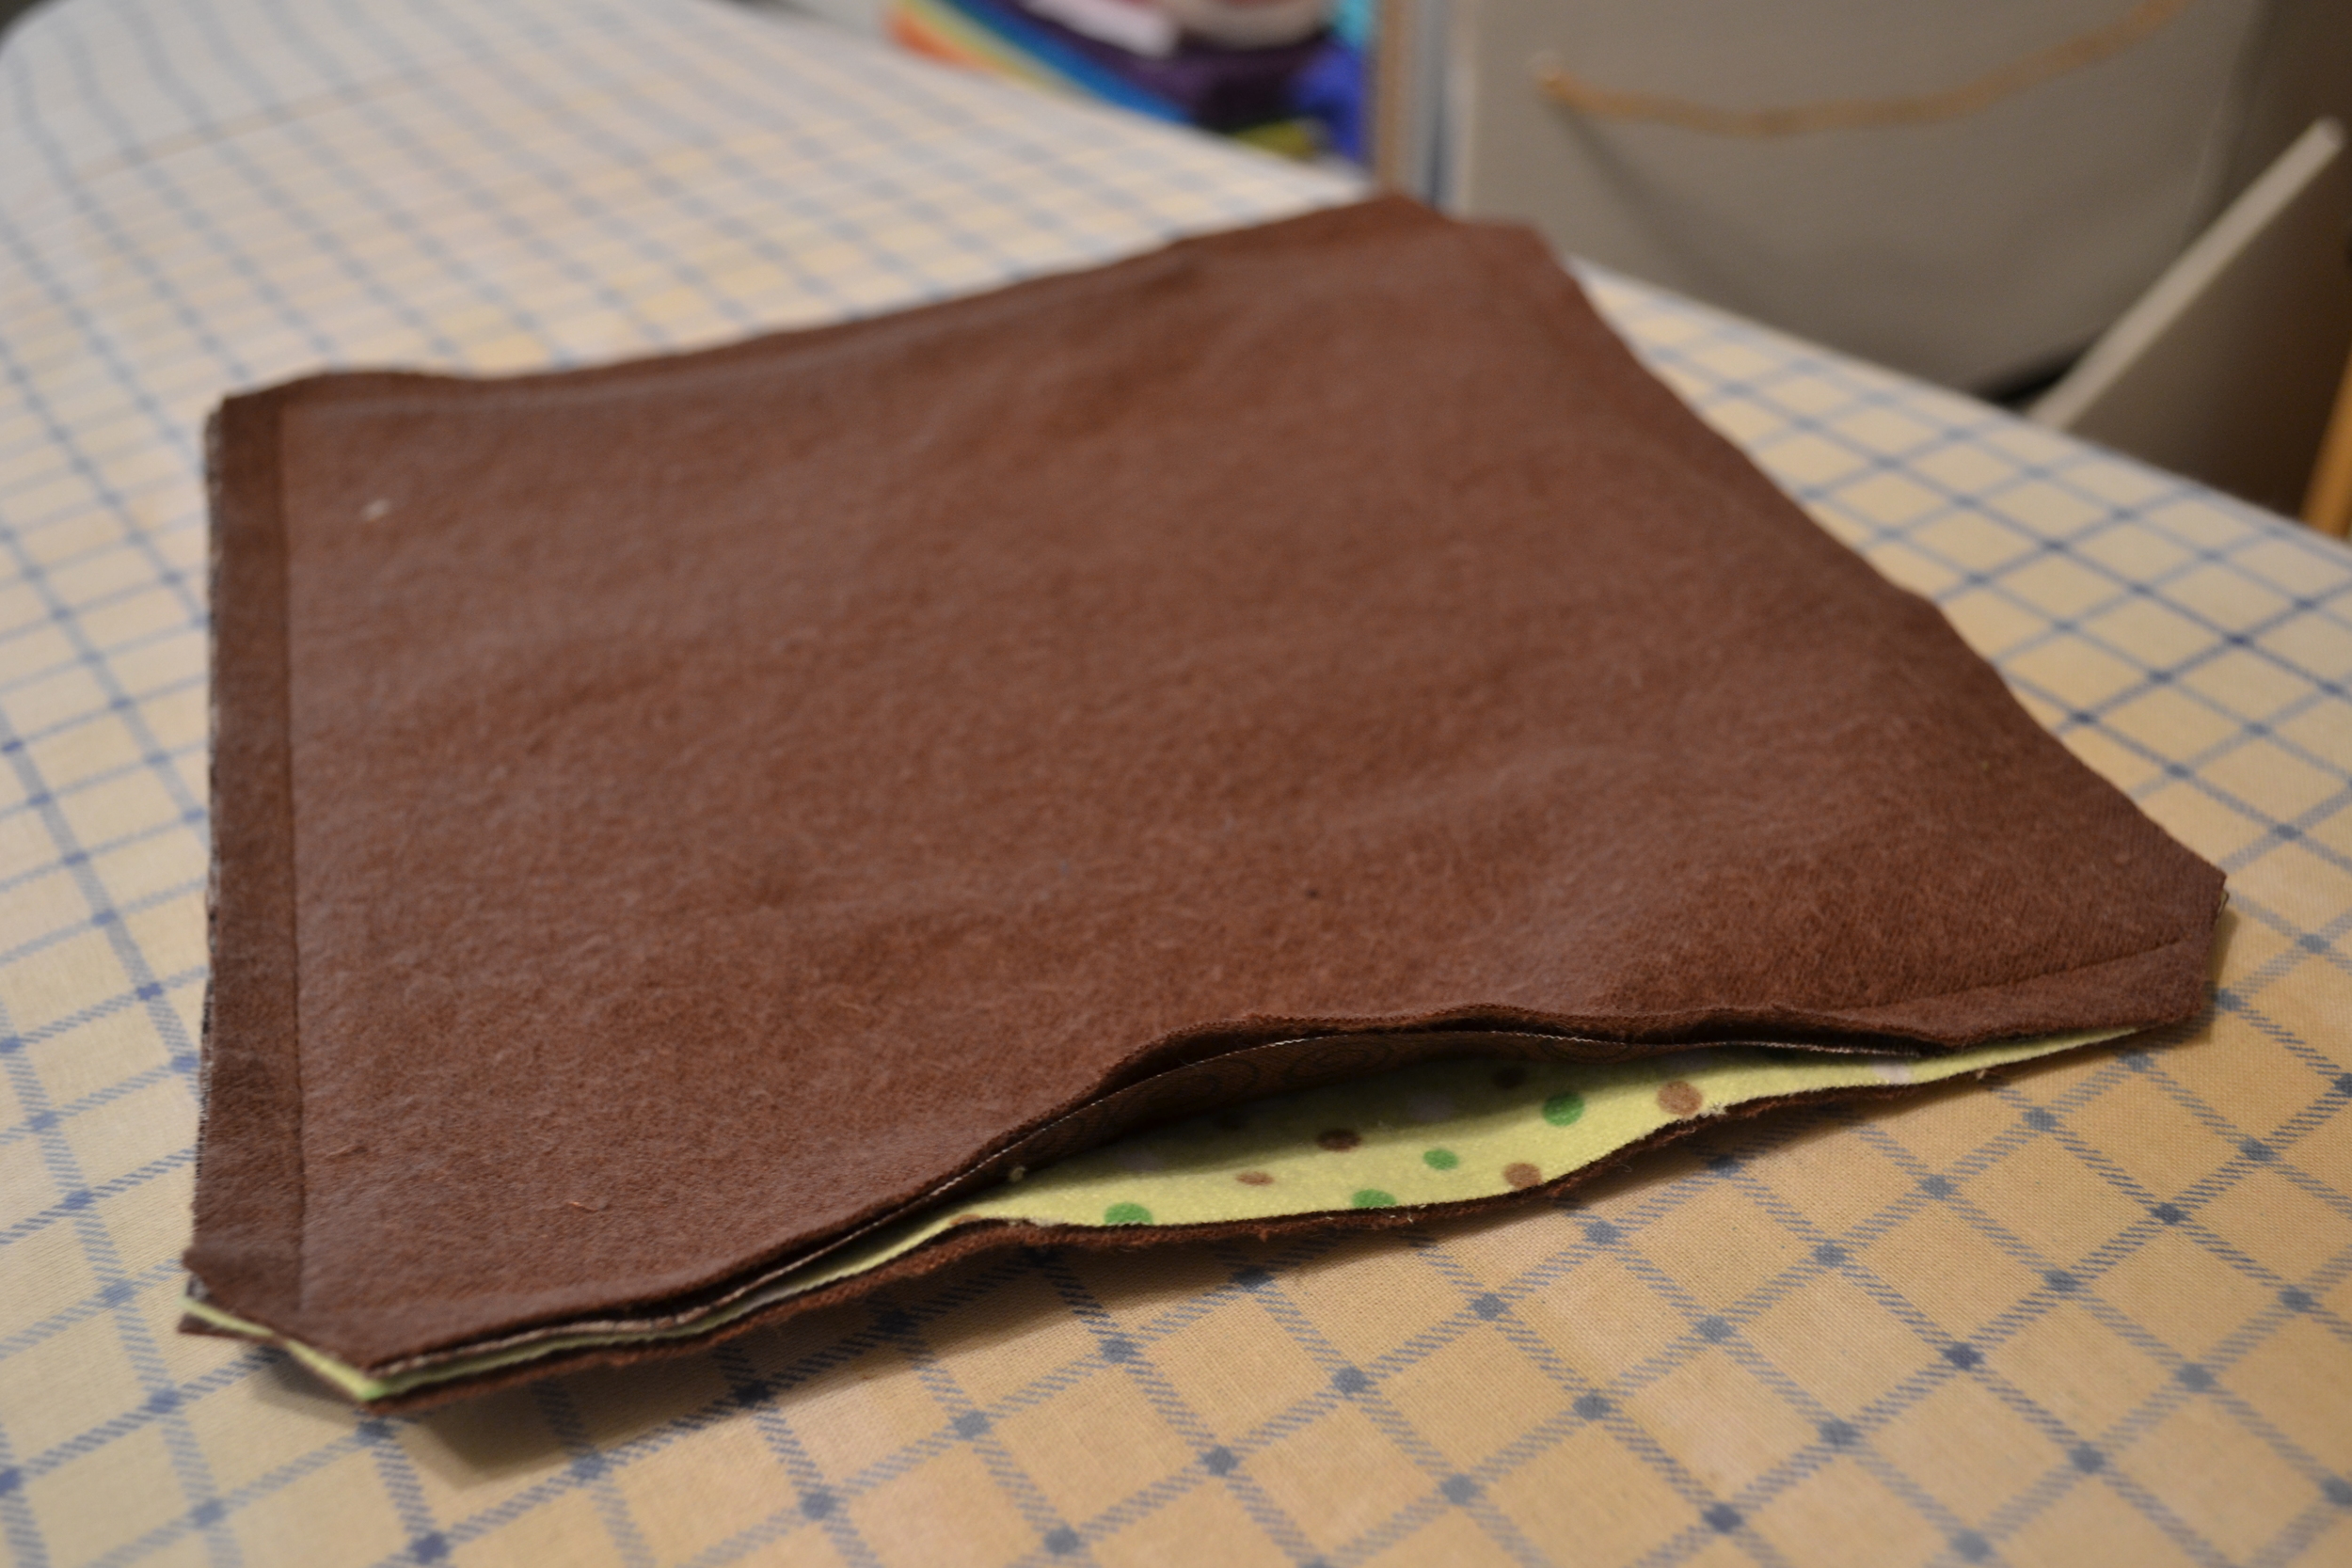
With right sides of one flannel print and one terry cloth square pinned together, I take my scissors and slightly round each of the corners.

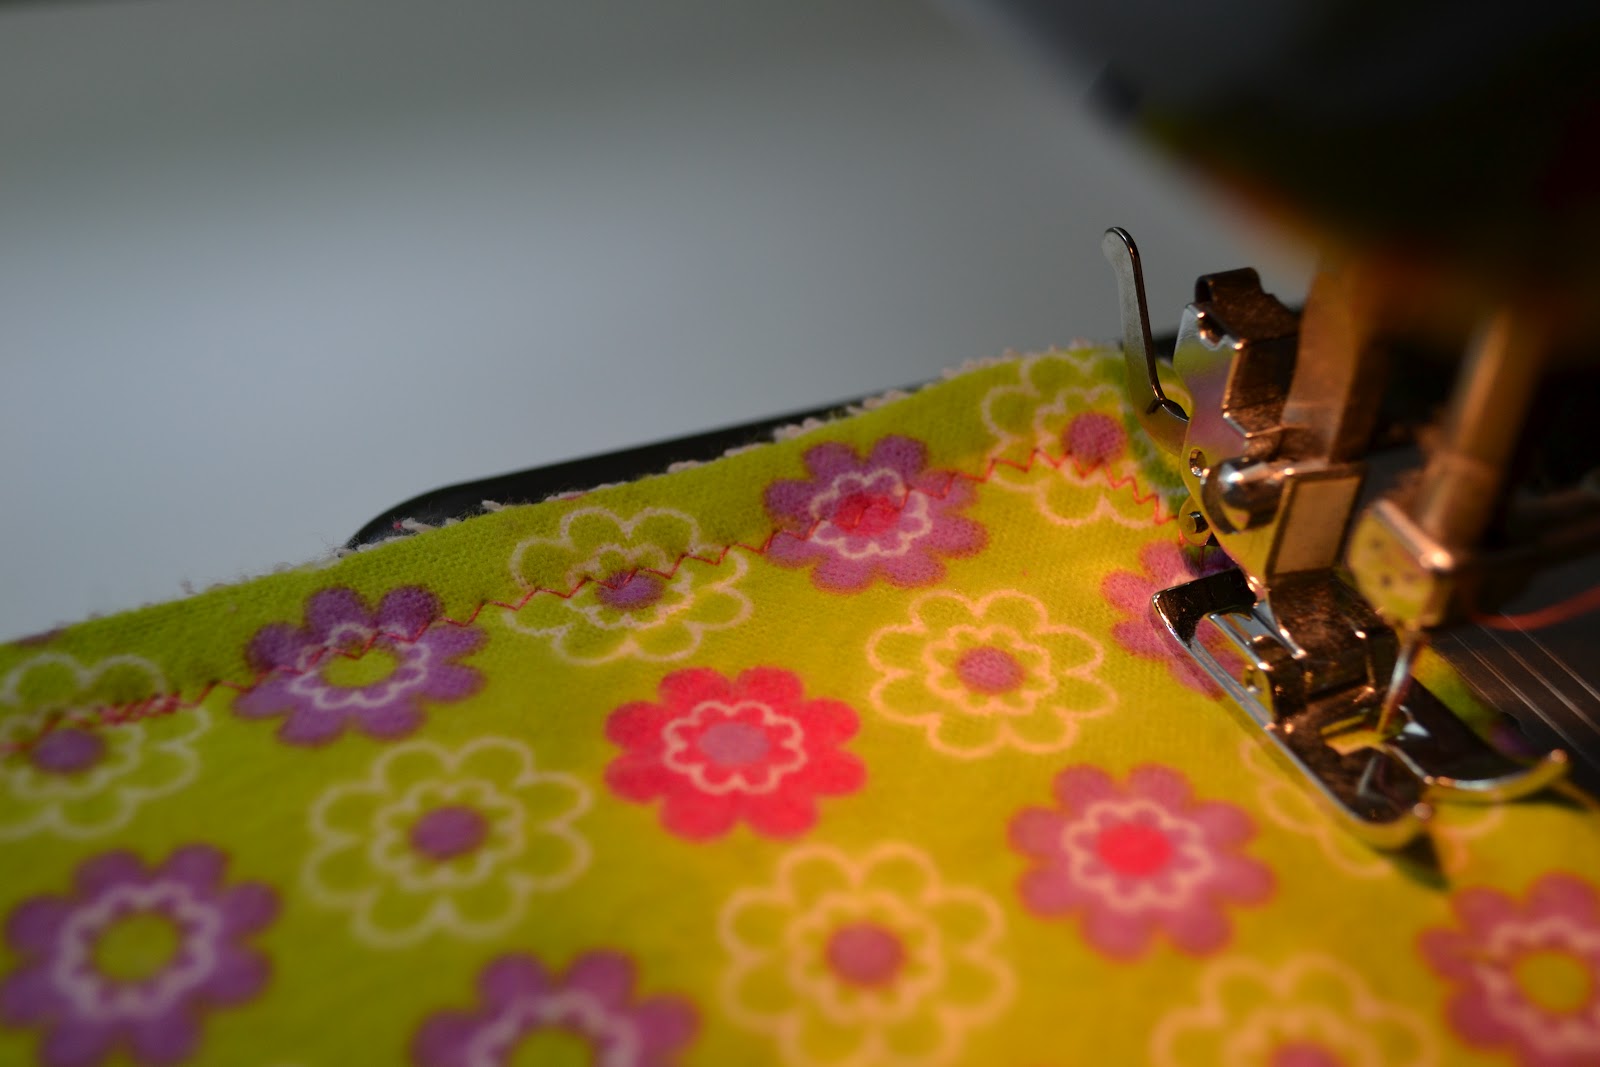
Time to move to the sewing machine! I use about a 1/4 inch seam on these, but remember to leave an opening to turn these right side out!

Clip each of the corners like you did for the blanket.

Pull in the right side out through the opening you left.

Give each wash cloth a press with the iron.

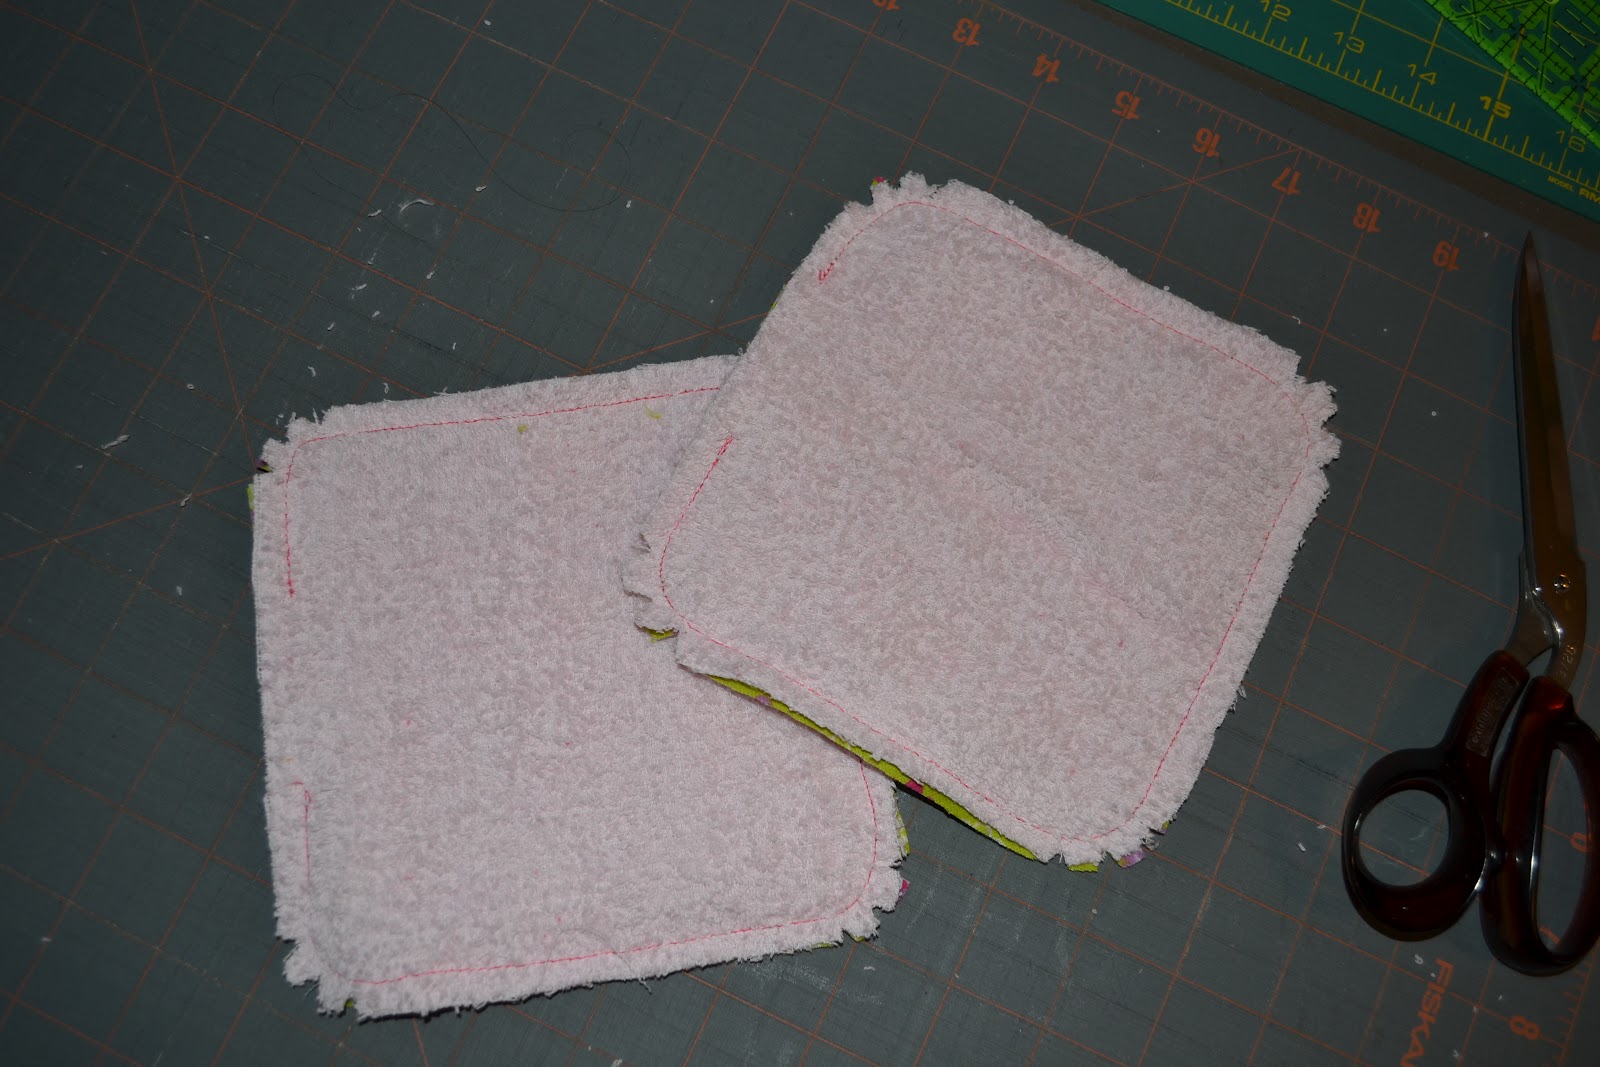
Back to the sewing maching to zig-zag stitch around.

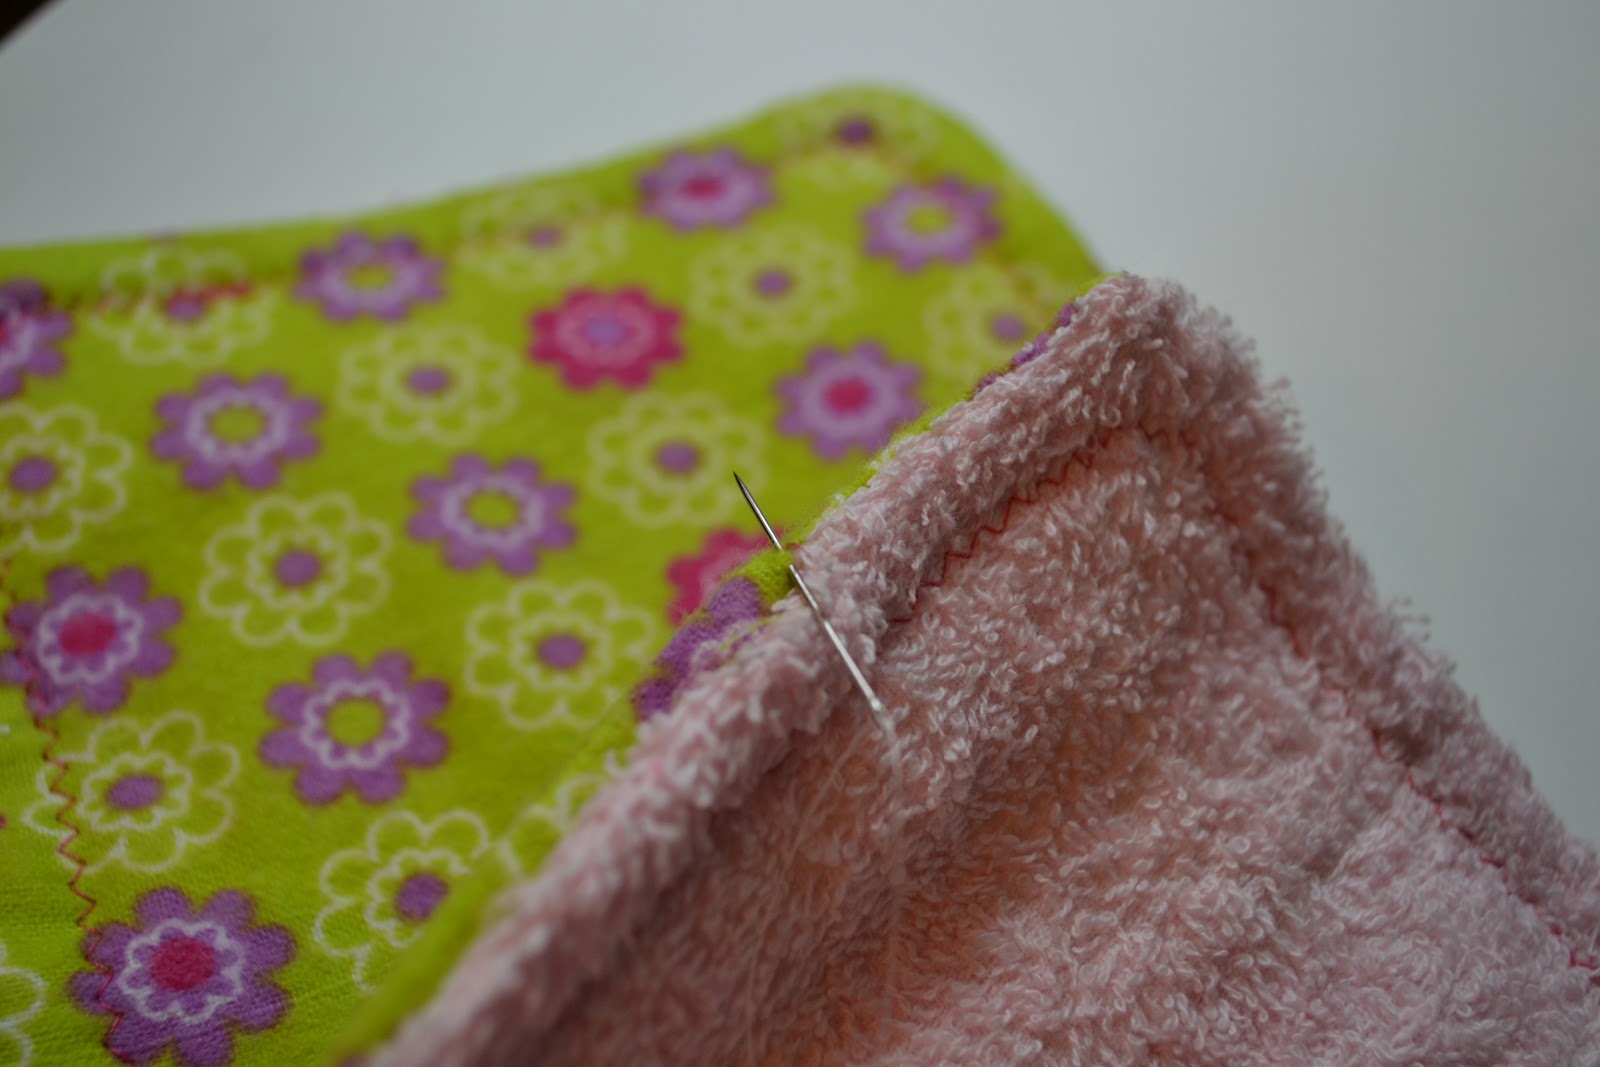
Time for some thread and a needle to stitch closed that opening.

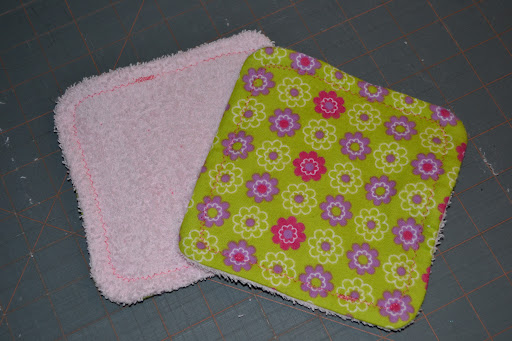
Ta da! In less than one hour and for less than $5, you can have a really nice homemade baby gift!